Give It Time
The river is of the earth
and it is free. It is rigorously embanked and bound,
and yet is free. “To hell with restraint,” it says.
“I have to be going.”
It will grind out its dams.
It will go over or around them.
They will become pieces.
-Wendell Berry
This is what I have learned: one of the hardest parts throughout this entire project has been realizing my limitations. There were moments where I knew what I was doing wrong, but I was tired and frustrated from measuring that I didn’t care to be meticulous anymore. The less meticulous I got, the more problems occurred. I grew wary when I couldn’t do something alone and relied on the helping hand of other people.
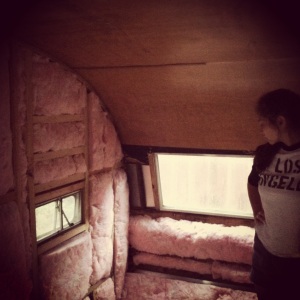
This cotton-candy mess is the insulation. I bought it in rolls at HomeDepot. It was a touch thick- so we shoved it in and peeled off a layer here or there so the walls didn’t bulge out in some places. I am happy to report now, that packing this much insulation in is paying off in warmth during bitingly cold winter days. I kept the original wood frames in and filled in the holes around them to save me some work.
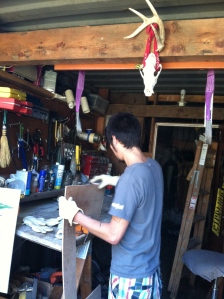
After the walls were insulated, I measured and cut thin panel boards of knotty pine wood from a local lumber store. All the wood used for the floor and sides were left in the trailer for at least 48 hrs to adjust to the environment. It was roughly $20 a sheet, and I used about six all together. In some parts of the wall I used as many scraps I could to cover areas that wouldn’t show (under the bed). This saved me waste, money and extra trips to the store. Aesthetically it made no difference since it would be hidden. Putting up the walls was the most troubling part of this whole ordeal.
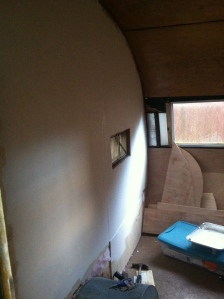
For a few of the sides we were fortunate and traced the original siding torn off. For most of it we had to make measurements, which was difficult due to the curve of the trailer and the wheels, windows and outlets. We cut the panels on sight with both a jigsaw and a circular saw. My friend helped me install three outlets that I am going to hook up externally to the breaker box in my friend’s house. He has installed electricity before, and it wasn’t extremely complicated, but it would’ve been a headache to do alone. All of this took quite a bit of time and required more than one person. During the process I painted one of the sides to not only keep me going, but to have an idea of what it will look like.
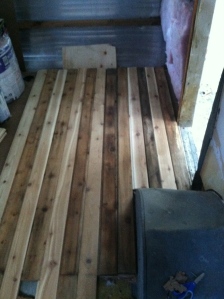
As for the floors I used a combination of new cedar planks from Home Depot and wood boards from the local rebuilding center in Portland. We cut them to size and alternated the new and old nailing them down with sinker nails.
Once I installed the flooring and the wall panels I used caulk and white flexible trim (which I purchased for about $10 a piece at the local lumber store) to fill in the cracks and cover the point where new wall panels joined. I used basic white trim to match the white walls. Next I began building the bed, a counter, and shelves. I will go into more of the interior decor in the next post. The bed gradually reduced to being extremely simple. The area underneath is open completely for storage, which saves a lot of space. I was going to have the bed on hinges so I could open of the top, but I preferred to have the underneath space open instead of boxed in to slide stuff in and out. The futon mattress is too heavy for a hinged bed to be useful. The below picture is me being completely frustrated because the first bed I had made was done in a rush and inevitably fell to the ground. This led me to the unhinged simple plank style bed.
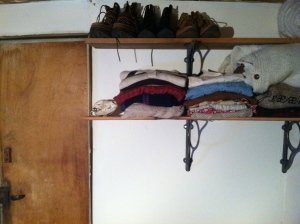
Also, if you can see. I really wanted to start the interior decor. And impatiently started putting up shelves before other things were completely done. I advise not to do this- however this again is my first real project ever so I gave myself a little grace. I bought planks of wood previously used in a barn for my shelves and had some iron hardware from Anthropology to secure them in. The below picture shows the first few shelves put in place. Again, in future posts I will go into more of the interior decor. My main goal was to have this space feel cozy yet open. The natural materials used and simple color palate lends the space to not feel cluttered or small; it gives more of a rustic, cabin feel.


